Digital gives you speed. Film gives you soul.
Shooting hybrid means juggling both – and still delivering a gallery that reads like one story.
Here’s a battle-tested hybrid workflow to help you do just that:

1. Use digital in the chaos.
Unpredictable lighting, quick transitions, high-pressure moments — this is where digital shines. Stay nimble without sacrificing quality.
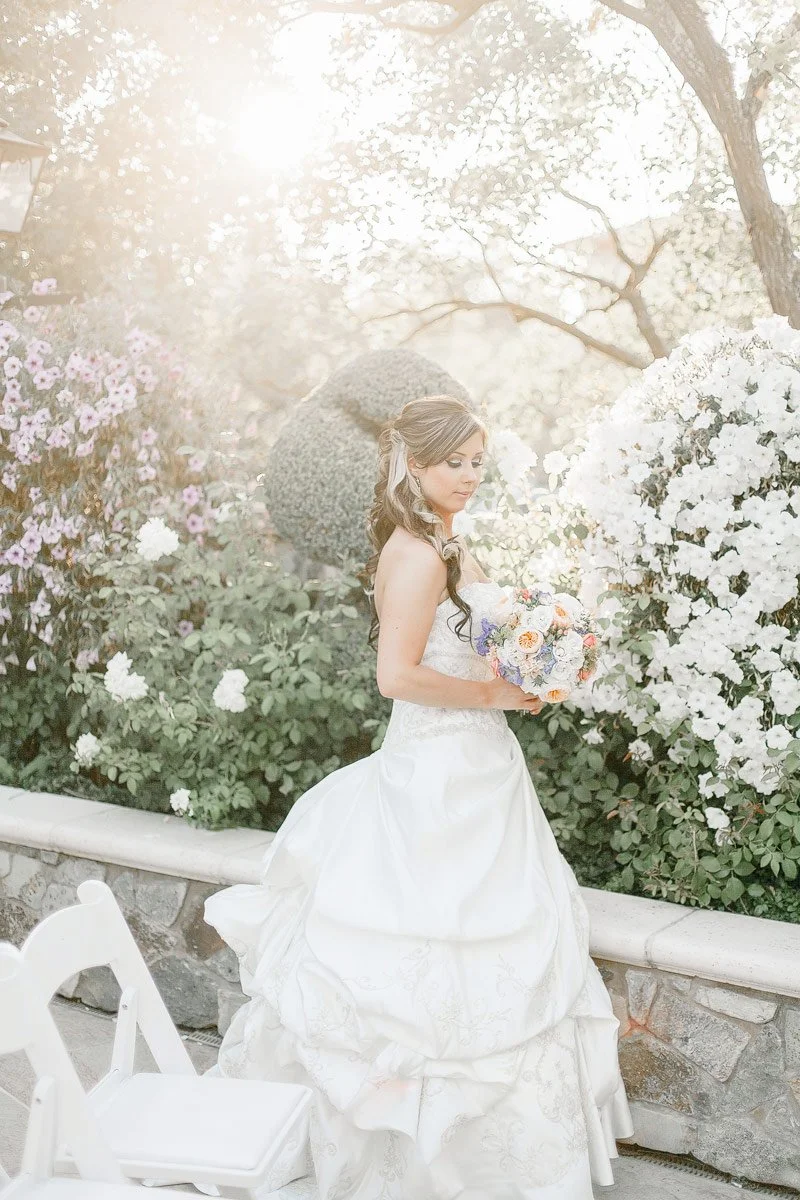
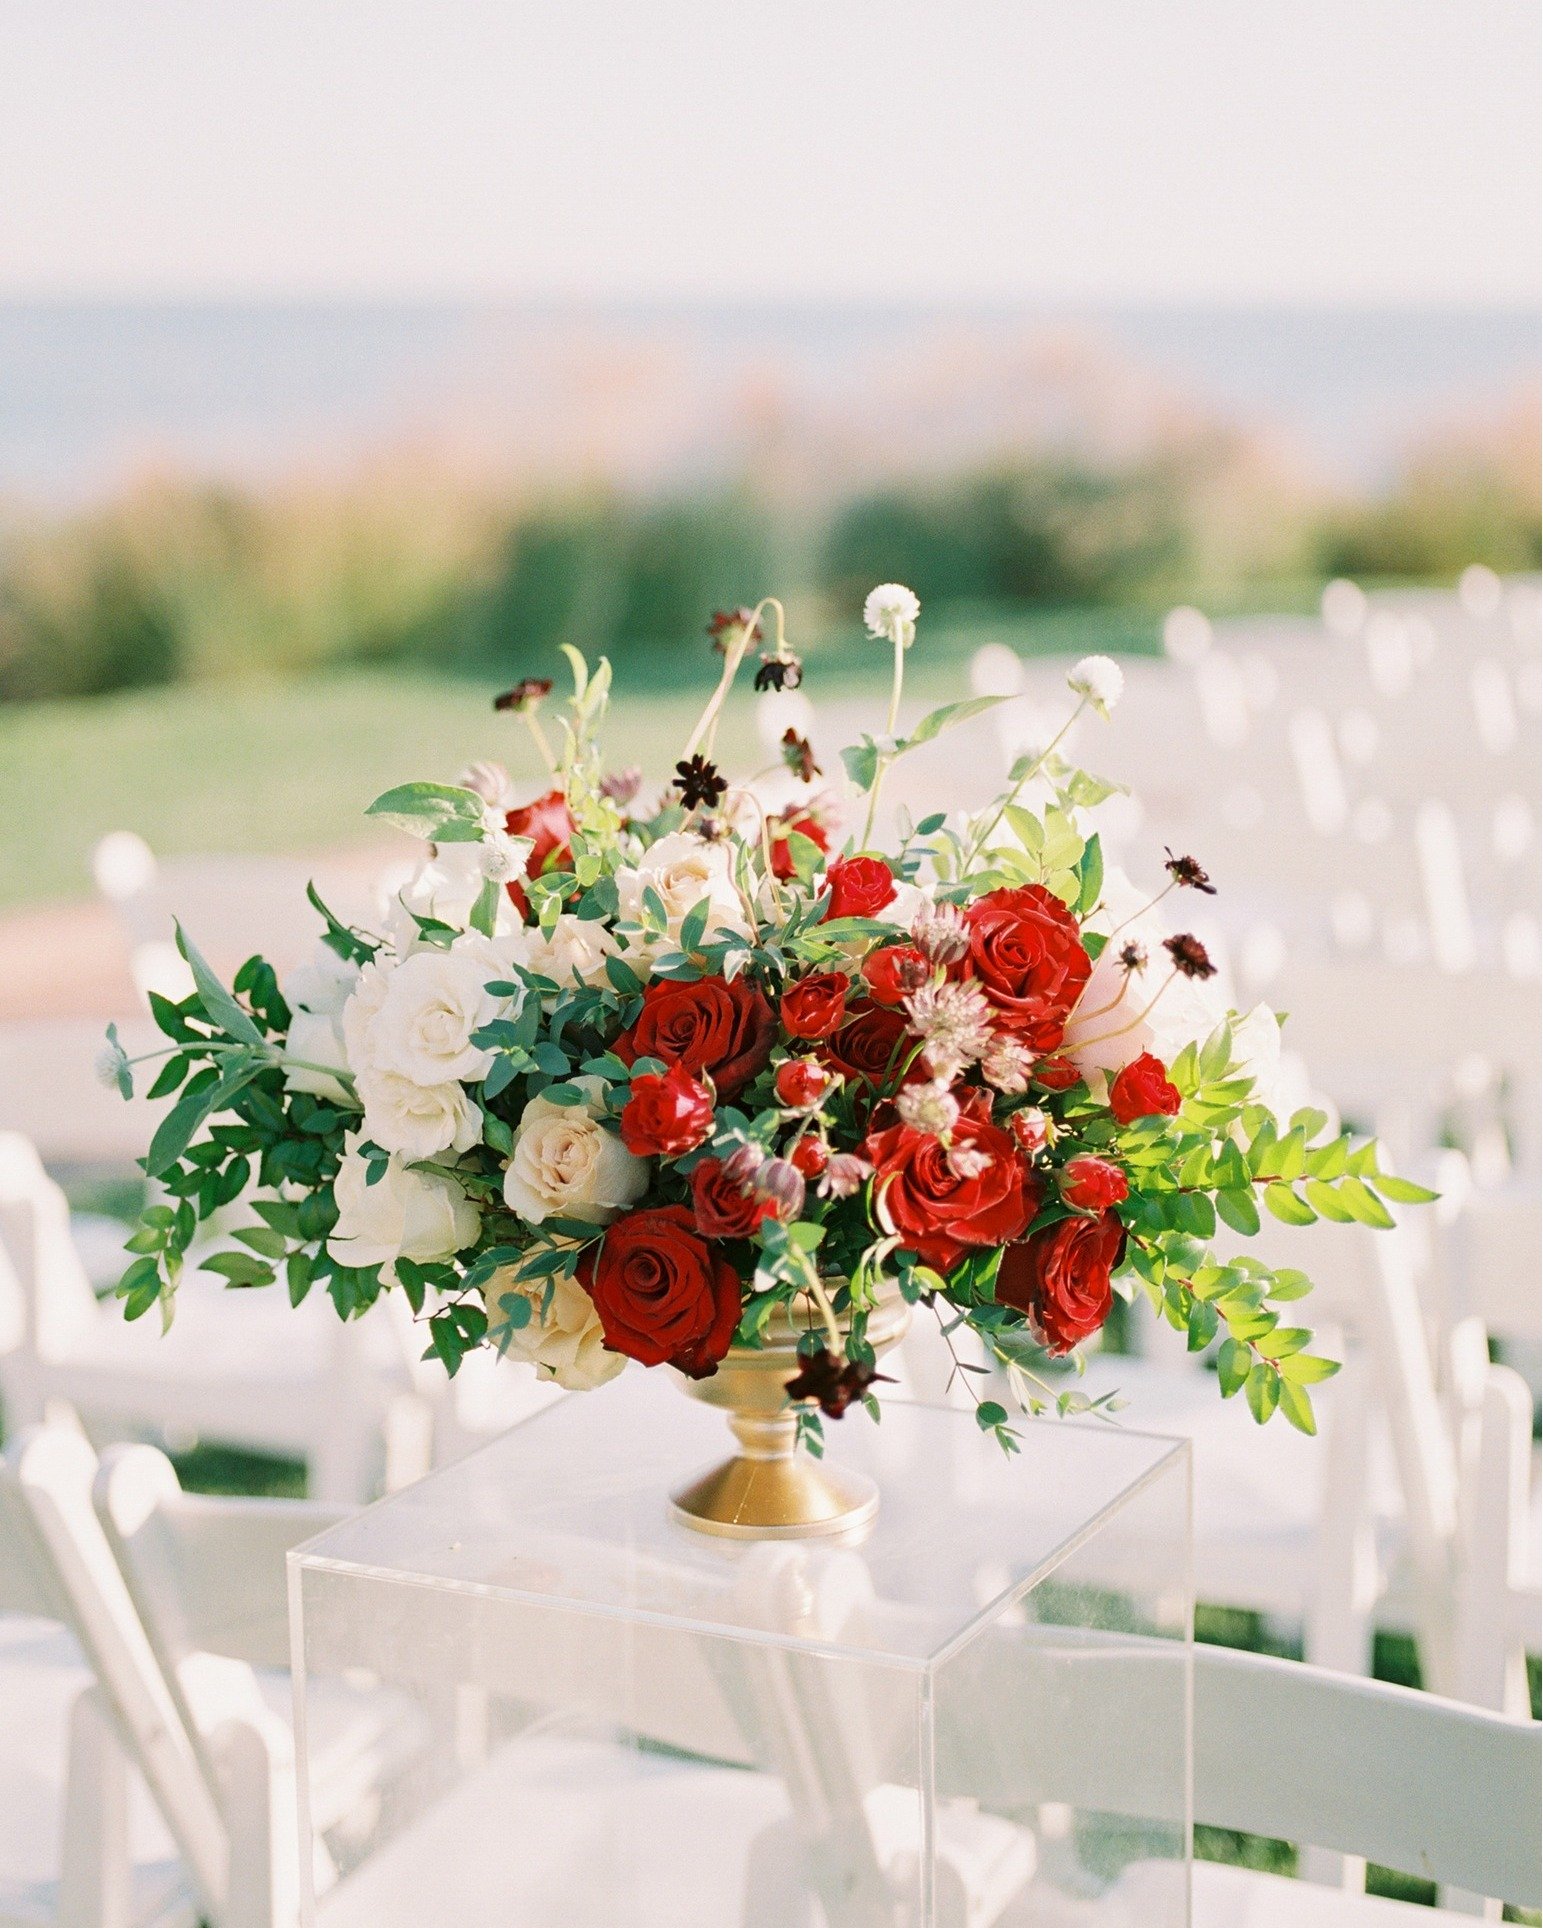
2. Bring in film when things slow down.
Flat lay? Bridal portraits? Ceremony details? That’s your moment. Natural light + no rush = film time.
3. Meter with awareness.
Lock settings when light is steady. But when it shifts — re-meter. Smooth exposure starts with presence.
4. Match the feel.
Don’t just color match. Match the energy. Think softness, tones, grain. Your gallery should flow like one cohesive visual story — not a film vs. digital competition.
5. Cull with intention.
You don’t need five versions of the same kiss. Choose the frame that hits hardest. Let film’s selectiveness influence your digital eye.
Hybrid isn’t just about using two formats.
It’s also about making them dance together.